Tuesday, August 25, 2015

Assembly instructions


This post provides some instructions for assembly of the Plastic Soldier Company 6-pounder anti-tank gun from the British 6pdr Anti-tank Gun and Loyd Carrier Tow kit (WW2G20004), and some Verlinden fuel and oil carts from the Airbase Flight-line Accessories kit (2627).

For whatever reason, no instructions were provided for the assembly of these models, so I put them together as near as I could figure after doing some research.

The 6-pounder is actually pretty simple to put together, but some actual instructions would have saved a lot of time that was spent fitting parts to see how everything was supposed to go together.

In typical PSC fashion, the diagram showing the layout of the parts is somewhat different from the actual layout on the sprue.


The critical piece for the 6-pounder is part 16. Be careful when removing it from the sprue because the plastic is rather soft, and the piece can bend or break.

This side up

I used a 1.15mm drill to widen the holes in the carriage chassis (part 16) to allow the trail legs and cannon to fit in place without having to use too much force. The increased diameter seems to be just about right, allowing the parts to move without being overly loose.

1) Attach part 16 to part 7. Glue is probably not necessary because the fit is pretty secure, but I used some liquid cement anyway.

Make sure part 16 is in the correct orientation.

2) Glue part 17 to part 15. I positioned the sight parallel with the barrel.


3) Glue the barrel (part 15) to part 9.

4) Insert the trail legs (parts 1 and 2) into the corresponding [left and right] holes in the carriage chassis (part 16).


5) Attach the cannon (part 15) and wheels (part 14) to the carriage chassis (part 16). Glue the tow hoop (part 6) to the trail leg.

Part 6 glued to part 1

I wasn't sure if the tow hoop was supposed to be attached to the left or right trail leg. In the 1/35 world, Tamiya and Bronco 6-pounders have the hoop attached to the right trail leg, while the AFV Club and Riich kits have it attached to the left. Maybe it can be on either side, who knows?

Anyway, the model is rather simplified, but it looks decent and assembles quickly.

For resin kits, I've become pretty accustomed to having minimal to no instructions. The problem with this particular set from Verlinden is that the models are very obscure, and I was almost unable to find any good pictures of the assembled models, much less pictures of the actual oil and fuel carts they are supposed to represent.


The set includes one fuel cart, and two oil carts. I assigned some part numbers in the picture below.


Fuel cart assembly:


Used pin for front axle to allow wheels to pivot.

* indicates location of hose reel which needs to be scratchbuilt.

Oil cart assembly:

* indicates location of lever that needs to be scratchbuilt.

Used pin in front axle.


Oil drum trolley assembly:

* indicates location of tow arm that needs to be scratchbuilt.

The Verlinden models are nicely cast in a firm resin that is very easy to cut. Once all of the parts are identified, it's actually pretty intuitive where each of the pieces are supposed to go.

The only unclear part is with respect to the location of the rear axles of the carts, since there are no guides as to where they should be positioned.

Hopefully these instructions will be of some use to someone out there.


Tuesday, July 28, 2015

PSC Churchill

I haven't been able to do much in the way of model building recently, but last weekend I tried to squeeze in a quick build of a Plastic Soldier Company Churchill.

The PSC kit contains two models that the instructions say can be built into a variety of cast turret Churchill tanks, although the turret itself is not quite accurate for any of the versions. An excellent resource on the appearance of the various types of turrets used for the Churchill can be found at Armour In Focus.

The Mk III AVRE is mislabeled - a carryover from the
15mm kit, which includes parts for a welded turret.

I plan to build the CS and AVRE versions of the Churchill with the two models in the kit, but because the AVRE version would require a lot more work to make the various fittings mounted on the hull, I started off with the CS version.

The build was modeled after Ballyrashane, a Churchill Mk V of the North Irish Horse.

The tow cables of the model are molded in a position that prevents the spare track armor from sitting flush against the hull. I shaved a section of the cable away from each side so I could glue the tracks in place, and then used some stretched sprue to connect the two ends of the tow cable.


The first tow cable I did looks particularly awkward, due to some fairly sharp curves. The second one with shallower curves looks a bit better, but I'm not particularly happy about either of them.

I drilled out the barrel of the 95mm howitzer and inserted a section of brass tubing in the hole (A). The barrel of the howitzer protrudes a bit past the counterweight, but I probably should have made the tubing flush with the end, since the actual extended portion would be almost unnoticeable at 1/72 scale.


Some plastic card was used to represent the padding on the inside of the hatch covers (B). The flag canister on the side of the turret was mounted angled to the front, but I've seen it straight up, or tilted to the back as well (C). Plastic strip was glued around the turret ring to represent the additional armor of the late style cast turret (D).

I still need to add an armor plate to the side of the turret to cover the gap in the armor protecting the turret ring, and I'm going to have to cut the mantlet aperture to make it square, as befits a Churchill Mk V


Some exhaust pipes were added, since they are completely non-existent on the simplified exhaust system.


Below are some comparisons between the PSC Churchill, and diecast Churchills from Matchbox and Unimax.


The PSC Churchill is similar in length to the two diecast models, but is not as wide. This is consistent with the diecast models being Mk VIIs, which are wider than the earlier versions.

PSC Mk V and Matchbox Mk VII

Unimax Mk VII and PSC Mk V

Overall, I like the PSC Churchill. It's easy to build, and the completed model is weighty and well suited for wargaming. With a little bit of effort, I think it can also be made into a decent display model by more serious modelers.


Saturday, June 13, 2015

Dark Alliance Zombies


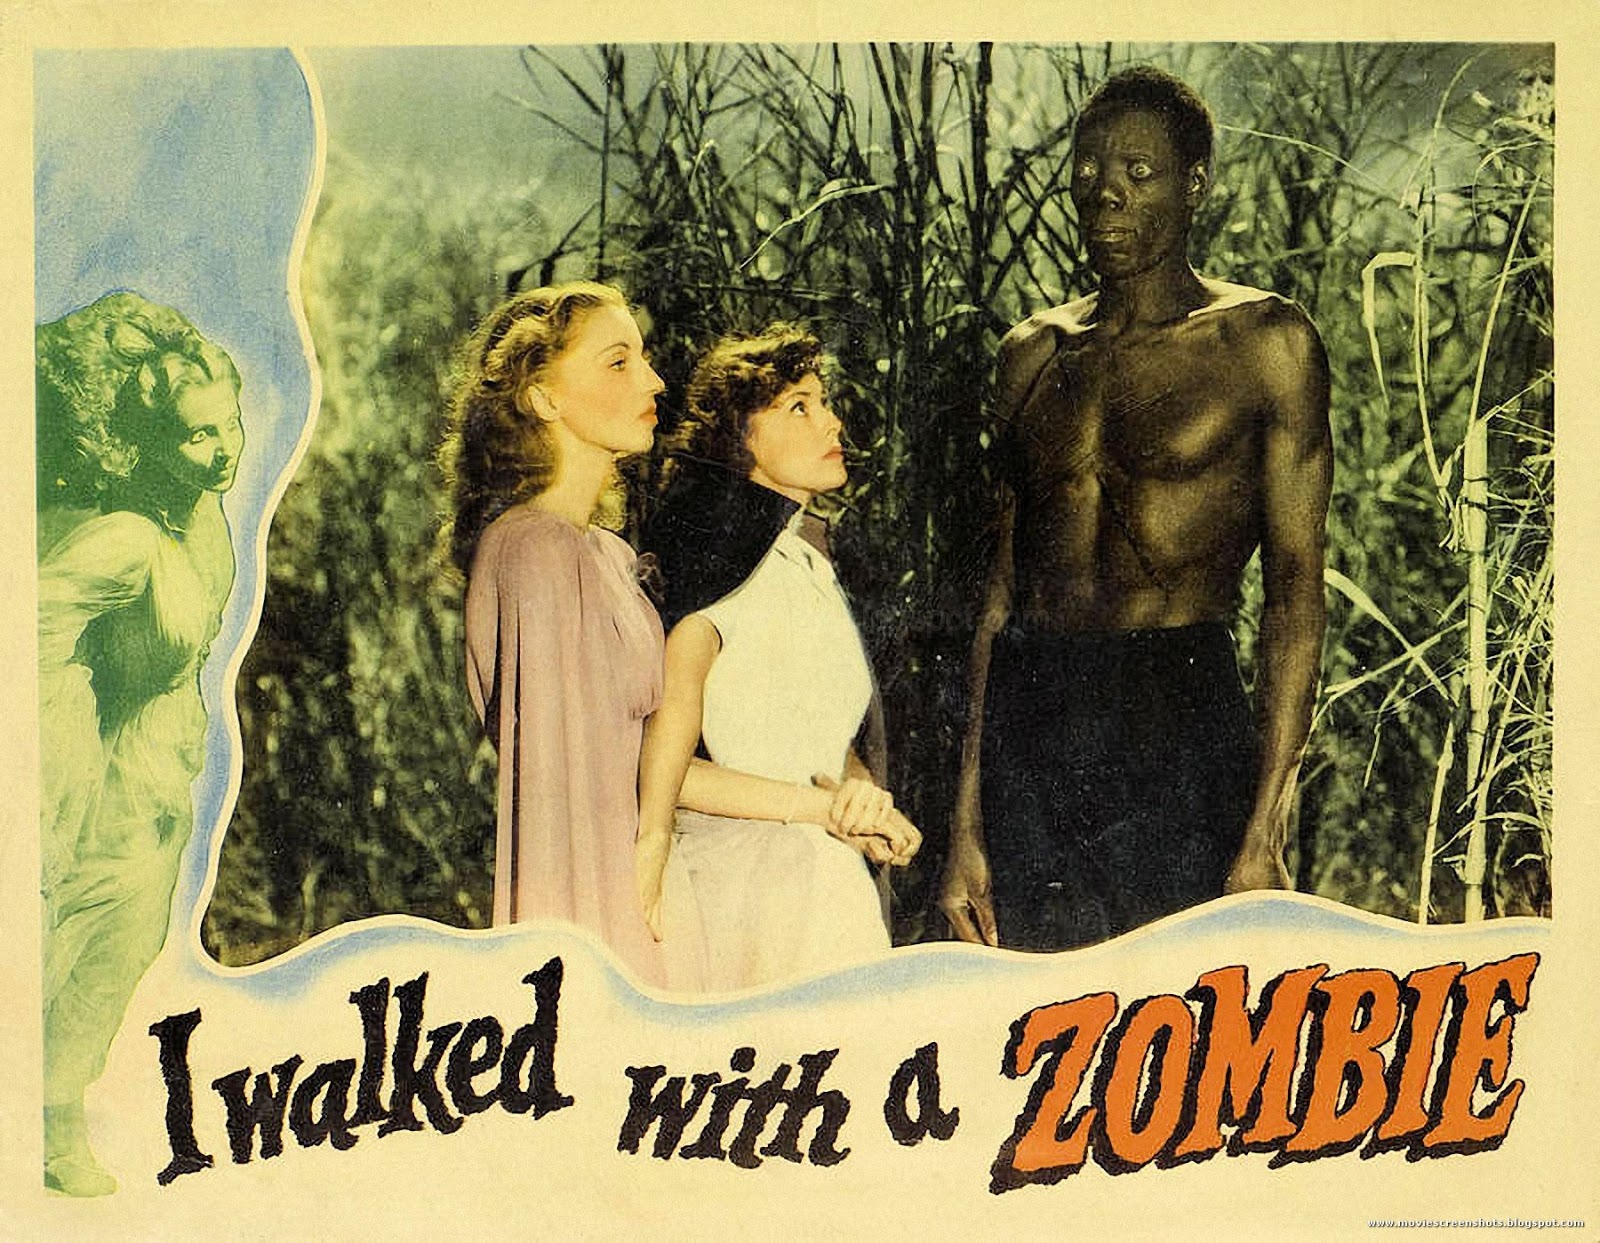
Zombies depicted in early zombie films like White Zombie, and I Walked with a Zombie followed the traditional Haitian model of zombies as reanimated corpses under the control of a bokor.

The modern zombie as a sort of devolved ghoul originated from the cinema, starting with Night of the Living Dead. Their hunger for brains came from Return of the Living Dead, and the zombie "rager" came from 28 Days Later.


The Walking Dead started its run as a comic series about a year after 28 Days Later was released. The comic book was adapted into a successful TV series which has been running for five seasons.


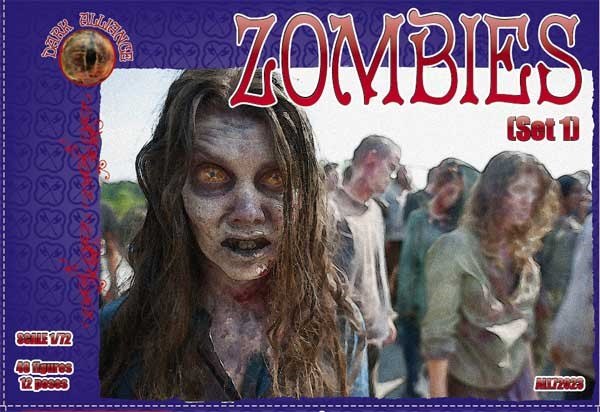
Based on the box art for the Dark Alliance Zombies, I'm guessing that at least some of the zombies in these sets may have been inspired by the show (I can't say for sure, since I have yet to read the comics or watch the show).


Set 1 consists of 48 zombies in 12 poses. The first picture is of adult zombies. The final three figures include a nurse, a doctor, and a police officer.


The second picture consists of a teen zombie, and 4 child zombies.


There was a bit of flash on one of the figures, but otherwise, this set did not require much clean-up.


Set 2 also consists of 48 zombies in 12 poses. The first picture is of adult zombies, several of which would pass nicely for traditional Haitian zombies. The kneeling zombies at the end consist of a female zombie gnawing on an arm, and a zombie maid that would be at least 7' tall if she were standing upright.


The second picture consists of 4 child zombies, and one adult crawler. Three of the child zombies are creepy baby zombies.


The figures in the second set required a lot more clean-up in comparison to the first set, but after getting rid of all the flash, the sculpts are just as nice. The problem with the set however, is that there too many novelty figures. With four duplicate sprues, I could create a zombie daycare staffed by giant maids.

The final pictures are comparisons of Caesar (light gray; left) and Dark Alliance (dark gray; right) zombies.


The details of the Caesar zombies are not as soft as those of the Dark Alliance zombies, but there should be no issues with using zombies from both manufacturers together.